Good morning friends! I am trying to find a post I made and published accidentally before it was finished; then I finished the post and somehow it was deleted. Not cool, Mr. Computer. Not cool at all!
Oh well. Tuesday here in southern Illinois was gorgeous. Really, really nice. Blue sky, temps in the mid-70’s and my little Beaker at my side. She stayed home from daycare, because she had a fever two days before and wasn’t sleeping well, because she was so congested. So for two days, she was my shadow. I know it’s a bit early to be starting seeds for the garden, but I’m hoping to get everything ready, so at the first hint of warmth, the seeds will have a head start on growing. Since the woodstove will be retired (hopefully) for the season, Beaker and I grabbed a bunch of the toilet paper tubes we had reserved for making DIY starter logs. (If you are curious about that, I put the link here for you: https://mommyjen365.wordpress.com/2014/02/20/diy-starter-logs-for-fireplaces-and-woodstoves/ ) So armed with our seed packets, tubes, roll of toilet paper, cardboard egg cartons and potting soil, we were ready.

First, poke a hole in the bottom of each egg holder. Use a sharp pencil, or the pointed end of the scissors or a knife. Not a huge hole; just enough to aid water in draining and to help the roots expand easier. Separate the lid of the carton from the bottom. Put a few tablespoons of potting soil into each egg cup and shake it gently to level the dirt.

For the toilet paper tubes, cut each one in half, so you have two short tubes.


Take a single square of toilet paper and poke it into the tube, so it acts like a plug. Don’t wad it up; just lay the single square over the top of the tube opening, and gently use your finger to push it into the tube. You can also use a large leaf or a few pliable smaller leaves. Hold the tube in your palm with the toilet paper plug against your palm on the bottom and gently spoon soil into the tube, leaving approximately a half-inch space from the top.

Put the tube into a sturdy container, standing up. I used the plastic containers I’ve saved from when I buy chopped meat. I wash it out thoroughly, scrape the clear plastic wrap from the top and use them for my garden. They are sturdy and free. Fill each tube, standing them up, so they support each other in the container. After filling with dirt, be careful when you transfer it to the container, from your hand, so the “plug” doesn’t fall out and your dirt spills out. Don’t pack the dirt in the tube, either. Just spoon it in, give a shake while supporting the bottom, and spoon in more soil.

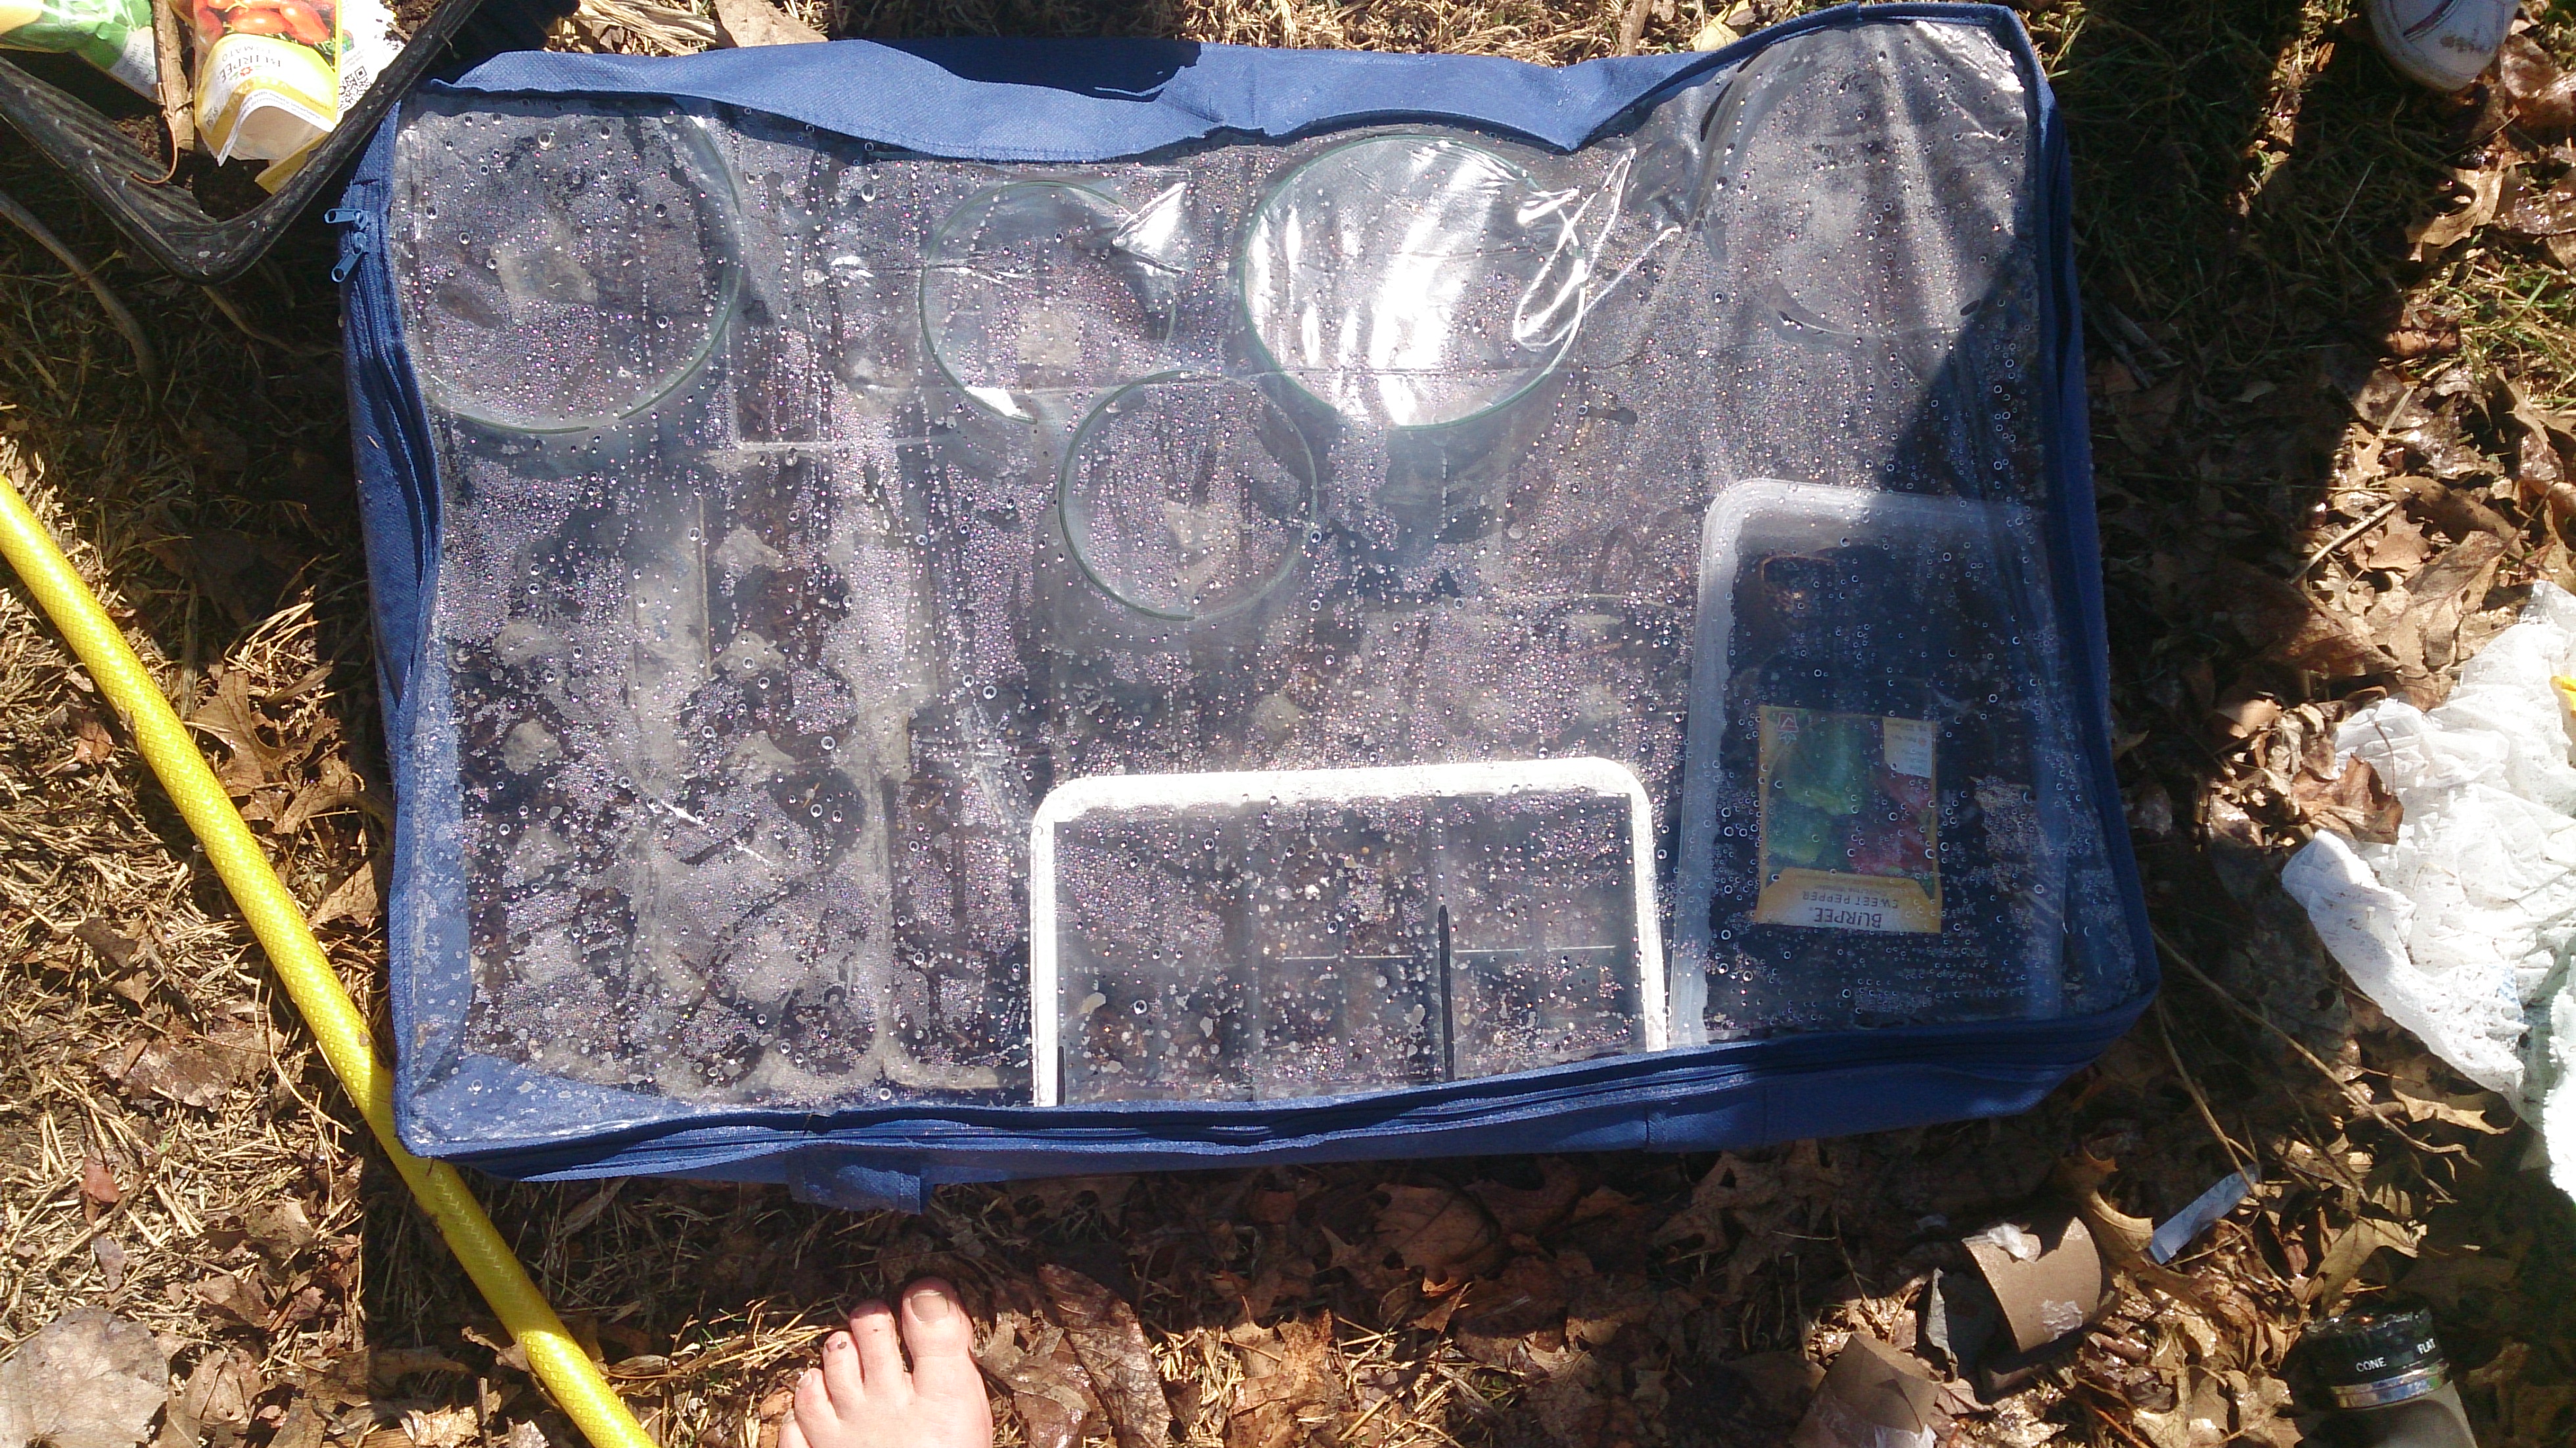
I needed a greenhouse, but no way can we afford it, so at the dollar store I found a zip-up “under the bed” storage container for storing blankets or other junk. The item is collapsible, the sides and bottom are a cheap fiber, so excess water can drain out. The top is made of clear plastic. It’s perfect to use as a cheap, portable greenhouse. I used a few pots that were tall enough to hold the plastic off of the egg crates, in the corners.
I then put the seeds into the individual egg holders and toilet paper tubes. This year I am attempting to grow Roma tomatoes; Brandywine Pink tomatoes; jalapeno peppers; sweet peppers and mixed peppers. These all need individual containers, so I use the egg carton container bottoms and toilet paper tubes for these. In the lids, I cover it with potting soil (if the openings are large, you can lay a single square of toilet paper over the openings and cover it with dirt. Then scatter the seeds that you can use a flat for, like marigold seeds. Once you have your seeds planted the correct depth, and lightly covered with soil, support the bottom and press out any air pockets. On the end of the carton, make sure you write what the seeds are, date planted and approximate days until maturity. When I cut apart the lid from the bottom of the carton, I leave the tabs on, which are used to secure the carton shut. I write on the tab the information I need.


Afterwards, use a garden house set to “mist” and give those seeds a good watering. Don’t dump water on it, because those seeds will just float up to the service and float off. Use a good heavy mist and water the containers. Wait a few minutes and mist heavily again. Wait a few minutes, which is giving the soil a chance to drink in the water and mist a third time.

Once the seeds are nicely watered, zip up the top of the “greenhouse.” It’s handy to slide a board or several sturdy large pieces of cardboard underneath the entire greenhouse, after zipping it closed, to hold it steady as you transport it to the place you want it at. NOTE: If using cardboard, Don’t have the cardboard striations all going in the same direction. This means, alternate the striations. Use two or three pieces and alternate the direction, so they don’t all fold on each other, together. Supporting the bottom, carefully bring the greenhouse to the area you are using. Ensure it gets plenty of sun and is sheltered from wind and cold.
Water the plants, with the hose set on mist, at least twice a day. Since the greenhouse is made of fiber, water will not collect in the bottom of it, and turn moldy or rot the seeds. The seedlings will emerge from the top, but the edges of the tube will protect the newly emerged seedlings from the top of the greenhouse.

When the seedlings are ready to be planted in the soil, dig a hole slightly larger than the tube and plant the whole tube into the soil. (Do not plant the plastic container that you had the tubes standing in, of course.) The cardboard will disintegrate. The egg carton cups can be cut or pulled apart, to create a separate biodegradable pot, for each seedling. Again, just dig a hole and plant the entire egg cup. The cardboard will help protect the roots from the colder soil and will add nutrients to the soil. The flats can be planted as is; just dig a shallow trench and place the egg carton lid into the trench. After planting your seedlings, water them thoroughly, and protect them from any extreme temperatures. If a sudden frost should be possible, cut open several large, black garbage bags, place short stakes in the garden so the plastic doesn’t lay directly on the seedlings and break their delicate stems, and lay the garbage bag over the seedlings. Anchor the edges, so a breeze doesn’t blow the plastic back.
Congratulations, you have your garden ready for almost pennies!!! You are using stuff from around the house that would normally go into the trash or recycling. The Jiffy cardboard pots cost about $4 for a dozen and then you have to pay more if you want the plastic “greenhouse.” For two dozen little pots, with the greenhouse, I’ve seen them selling for over $17. The ones we just made are free. You can buy a huge 20 pound bag of Miracle Gro potting soil for $4. The dollar store greenhouse fits more flower pots and can be hosed down, dried on the clothesline and stored for next year.
I’m looking at the junk mail we get and wondering if I can tear up the paper, soak it in water with added nutrients so it becomes a slimy mess, and then using small terra-cotta pots as a mold, “paper-mache” the pots with the slimy newspaper and let it dry, This way I am re-using newspaper and other paper and turning it into a biodegradable pot for larger plants that will go into the ground. Interesting thought…I will try this when we have a bunch of paper saved up; of course I will let you know if this was a great idea or a failure.
Smile at the bus driver when you get on board the bus. Give your little one an extra hug before they leave the house. Pack a surprise treat for your loved one, in their briefcase. Hold the door for the person behind you. Text or better yet, call a friend and just say hi. Wave to your mailperson; donate an old bedspread or comforter to the animal shelter. We all have problems and times we don’t want to smile or be happy. Try and be positive for the person next to you. We are all a gigantic family on this planet. Be good to one another. Until we meet next time, I wish you peace and happiness. Peace!!
